Table of Contents
If you want to try the Torrust Index demo on your computer, you can easily run it with Git and Docker. This guide will explain how to setup the demo on your own computer in a few seconds.
Requirements
You are going to need the following tools:
- Git
- Docker
At the time of writing, we are using Git version 2.39.2 and Docker version 26.1.3, but it should work with any recent version.
By default, the demo uses SQLite3 as database driver, but you can also use MySQL. If you want to use SQLite3, you do not need to install anything else. If you want to take a look at the internal database structure or data, you can install DB Browser for SQLite.
Running the demo
We are going to use a temporary directory to run the demo. You can install the demo with the following commands:
mkdir -p /tmp/torrust \
  && cd /tmp/torrust \
  && git clone git@github.com:torrust/torrust-compose.git \
  && cd torrust-compose/demo \
  && ./bin/install.sh
To start the application:
./bin/start.shTo stop the application:
./bin/stop.shAfter starting the demo you can check that all container are running with the following command:
$ docker ps
CONTAINER ID   IMAGE                       COMMAND                  CREATED         STATUS                            PORTS                                                                                                      NAMES
e380a435eede   torrust/index-gui:develop   "/usr/local/bin/entrypoint.sh"   4 seconds ago   Up 3 seconds (health: starting)   0.0.0.0:3000->3000/tcp, :::3000->3000/tcp, 0.0.0.0:24678->24678/tcp, :::24678->24678/tcp                   torrust-index-gui-1
db8f7c679b66   torrust/index:develop       "/usr/local/bin/entrypoint.sh"   5 seconds ago   Up 3 seconds (health: starting)   0.0.0.0:3001->3001/tcp, :::3001->3001/tcp                                                                  torrust-index-1
820720c37d80   torrust/tracker:develop     "/usr/local/bin/entrypoint.sh"   5 seconds ago   Up 4 seconds (health: starting)   1313/tcp, 0.0.0.0:1212->1212/tcp, :::1212->1212/tcp, 7070/tcp, 0.0.0.0:6969->6969/udp, :::6969->6969/udp   torrust-tracker-1
a9668e78f3cc   mysql:8.0                   "docker-entrypoint.s…"   5 seconds ago   Up 4 seconds (health: starting)   0.0.0.0:3306->3306/tcp, :::3306->3306/tcp, 33060/tcp                                                       torrust-mysql-1
c10ad938b283   dockage/mailcatcher:0.8.2   "entrypoint mailcatcher"   5 seconds ago   Up 4 seconds                      0.0.0.0:1025->1025/tcp, :::1025->1025/tcp, 0.0.0.0:1080->1080/tcp, :::1080->1080/tcp                       torrust-mailcatcher-1
Once the demo is running, you go to http://localhost:3000/ to start using it.
Application Setup
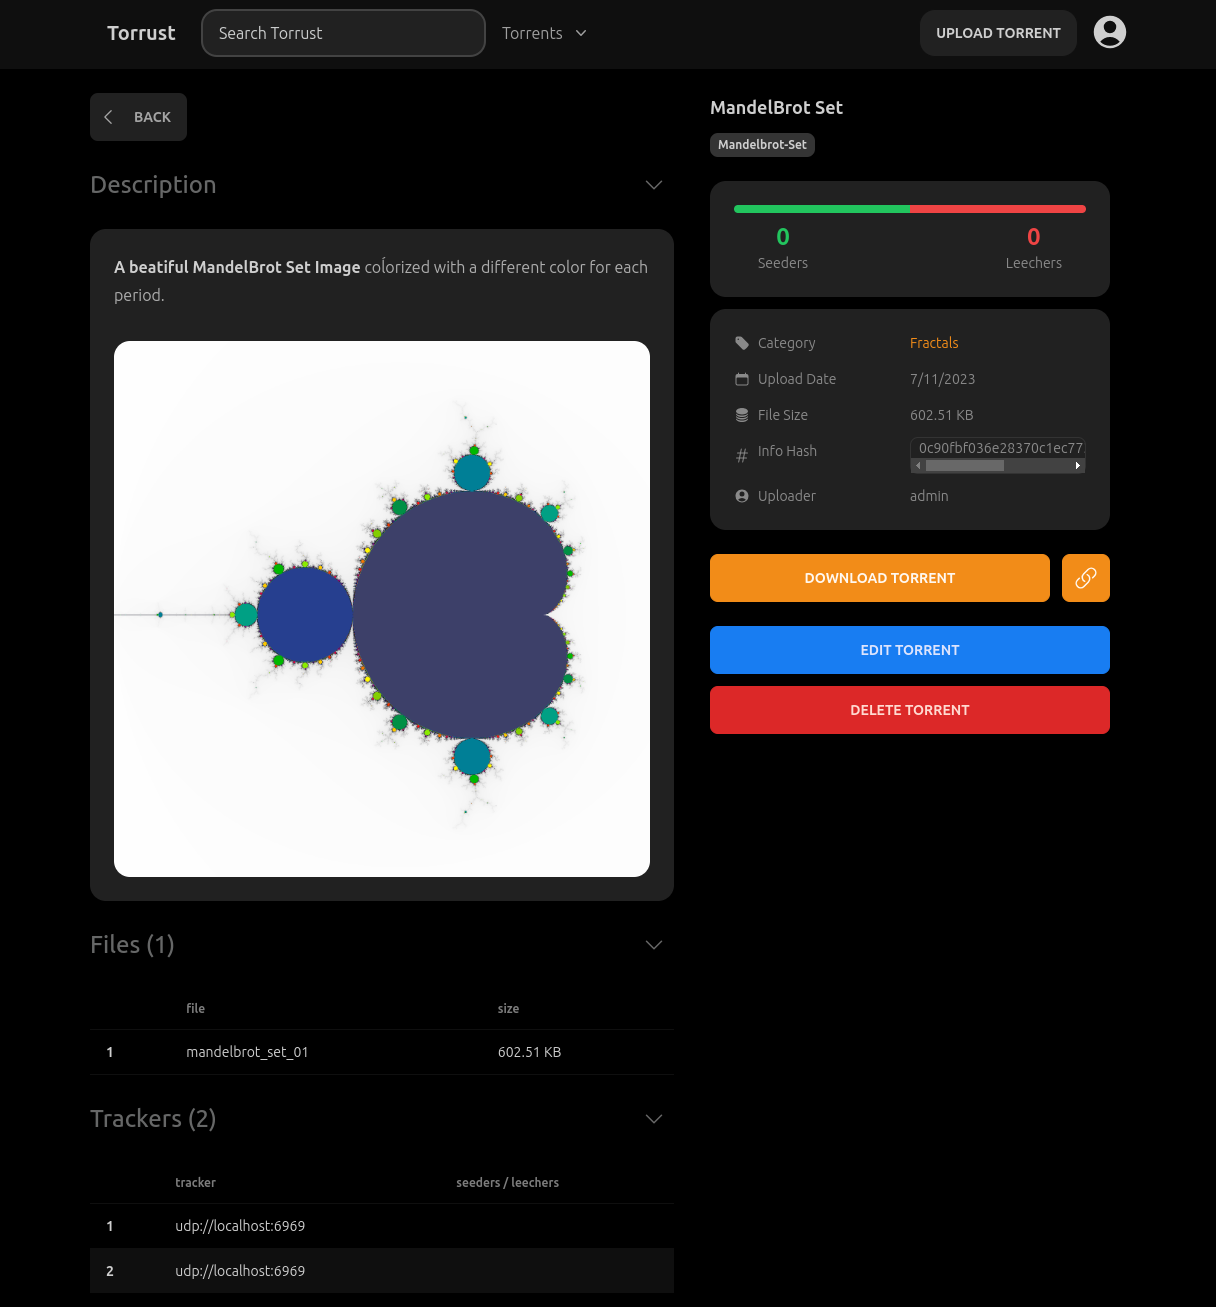
The application has some public pages like the torrent list or torrent details pages. But other pages require authentication. To access those pages you need to create an account. You can do it from the signup page:
admin user. The application only has one admin user.The application is very easy to use but you can find comprehensive documentation in the following links:
Advanced Setup
You can modify the configuration of the demo to use different ports, database drivers, etcetera. But we are going to use the default configuration in this guide.
If you want to change the configuration for the Tracker or the Index Backend, you can do it by modifying the config-tracker.local.toml or config-index.local.toml files and stopping (./bin/stop.sh) and starting (./bin/start.sh) the docker containers again.
Refer to the documentation of the corresponding application to know more about the configuration options:
Conclusion
That’s it. Enjoy the demo! We will publish a new blog post soon explaining how to use the demo for basics tasks like uploading a torrent, adding categories or tags, etcetera.
If you have any questions or issues please open an issue on the corresponding repository:
We very welcome any contributions to the project!