Introduction
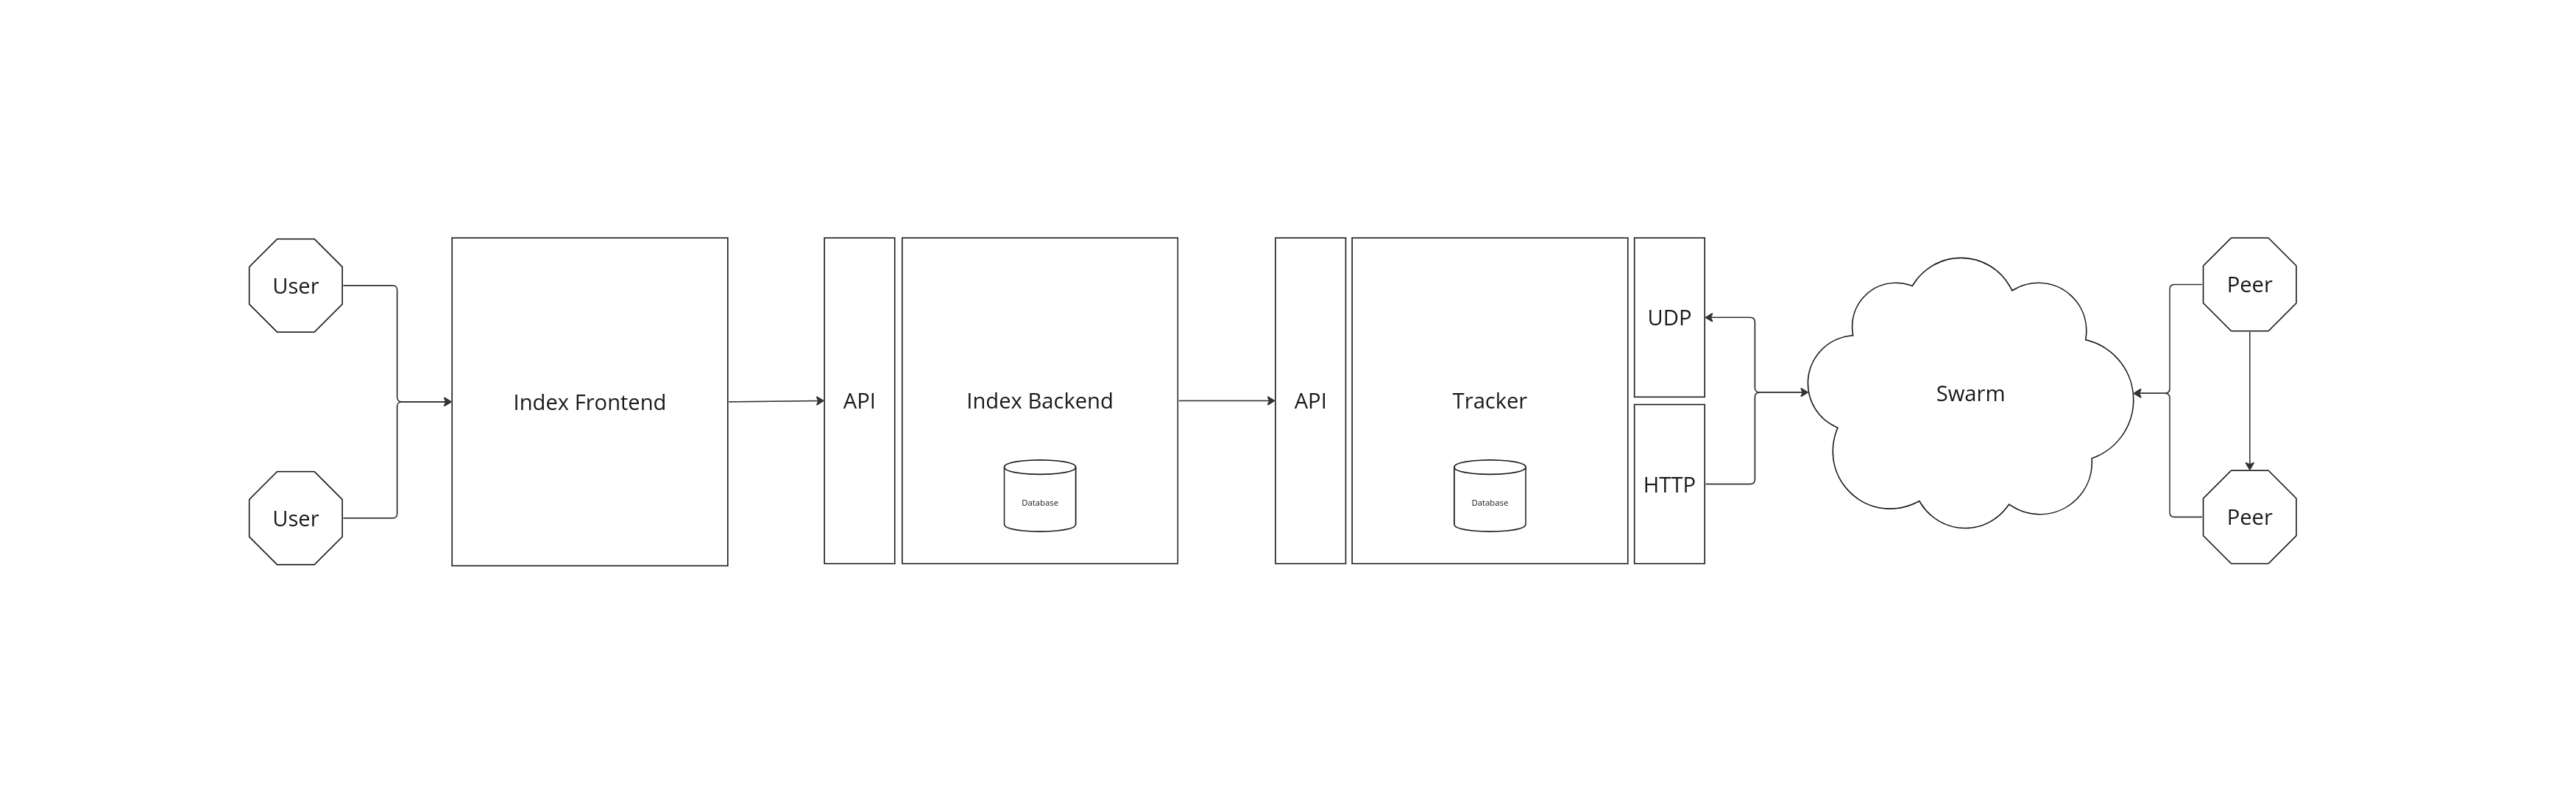
Before explaining how to setup the development environment, it’s important to understand how the Torrust Index works. The Torrust Index is composed of multiple services, each one with its own codebase and repository. The services are:
- A BitTorrent Tracker, which is responsible for tracking the torrents and providing the peers to the clients.
- The Index, which is a REST API that provides the data to the frontend.
- And the Index GUI, which is a webapp that displays the data to the user.
You do not need to setup all services to contribute to the Torrust Index, but in this article we will explain how to setup the full development environment, which includes all services. Sometimes you might want to contribute with a full feature that involves multiple services, so it’s useful to have the full development environment setup.
Setting up the development environment requires to setup the three main services.
First, we need to create the folder (in this example, a temp folder) where we will store the repositories of our services.
cd /tmp/
mkdir -p torrust
cd torrustCommon Dependencies
If you are using SQLite3 as database driver for the Tracker or the Backend, you will need to install the following dependency:
sudo apt-get install libsqlite3-devSet Up the Torrust Tracker
This tutorial is tested with this Rust version:
- rustc 1.80.0-nightly (9cdfe285c 2024-05-22)
Since we are using the openssl crate with the vendored feature, enabled, you will need to install the following dependencies:
sudo apt-get install pkg-config libssl-dev makeNow, we will build the tracker and create the storage folders where persistent data like databases will be stored:
git clone https://github.com/torrust/torrust-tracker.git \
  && cd torrust-tracker \
  && cargo build \
  && mkdir -p ./storage/tracker/lib/database \
  && mkdir -p ./storage/tracker/lib/tls \
  && mkdir -p ./storage/tracker/etc
You can run the Tracker with the following command:
cargo runAfter running the Tracker with cargo run you should see the following output:
Finished `dev` profile [optimized + debuginfo] target(s) in 0.09s
     Running `target/debug/torrust-tracker`
Loading configuration from default configuration file: `./share/default/config/tracker.development.sqlite3.toml` ...
2024-05-27T11:39:21.332802857+01:00 [torrust_tracker::bootstrap::logging][INFO] logging initialized.
2024-05-27T11:39:21.333426924+01:00 [UDP TRACKER][INFO] Starting on: udp://0.0.0.0:6969
2024-05-27T11:39:21.333462384+01:00 [torrust_tracker::bootstrap::jobs][INFO] TLS not enabled
2024-05-27T11:39:21.333491694+01:00 [HTTP TRACKER][INFO] Starting on: http://0.0.0.0:7070
2024-05-27T11:39:21.333599174+01:00 [HTTP TRACKER][INFO] Started on: http://0.0.0.0:7070
2024-05-27T11:39:21.333615604+01:00 [torrust_tracker::bootstrap::jobs][INFO] TLS not enabled
2024-05-27T11:39:21.333814923+01:00 [API][INFO] Starting on http://127.0.0.1:1212
2024-05-27T11:39:21.333839143+01:00 [API][INFO] Started on http://127.0.0.1:1212
2024-05-27T11:39:21.333883712+01:00 [HEALTH CHECK API][INFO] Starting on: http://127.0.0.1:1313
2024-05-27T11:39:21.333948472+01:00 [HEALTH CHECK API][INFO] Started on: http://127.0.0.1:1313By default, if you don’t specify any Config.toml file, the application will use this:
Loading default configuration file: `./share/default/config/tracker.development.sqlite3.toml` ...You can’t change that file because it’s a template included in the repo. If you want to set your custom configuration, you can either:
- Use a different path for the config file.
- Inject the configuration with an environment variable.
Custom config file
First, copy the template file to the storage folder:
cp share/default/config/tracker.development.sqlite3.toml storage/tracker/etc/tracker.tomlThen, you can change any value and finally run the tracker with:
TORRUST_TRACKER_CONFIG_TOML_PATH="./storage/tracker/etc/tracker.toml" cargo runThat would give you this output:
TORRUST_TRACKER_CONFIG_TOML_PATH="./storage/tracker/etc/tracker.toml" cargo run
    Finished `dev` profile [optimized + debuginfo] target(s) in 0.09s
     Running `target/debug/torrust-tracker`
Loading configuration from file: `./storage/tracker/etc/tracker.toml` ...
2024-05-27T12:52:00.364641064+01:00 [torrust_tracker::bootstrap::logging][INFO] logging initialized.
2024-05-27T12:52:00.365277963+01:00 [UDP TRACKER][INFO] Starting on: udp://0.0.0.0:6969
2024-05-27T12:52:00.365309093+01:00 [torrust_tracker::bootstrap::jobs][INFO] TLS not enabled
2024-05-27T12:52:00.365355473+01:00 [HTTP TRACKER][INFO] Starting on: http://0.0.0.0:7070
2024-05-27T12:52:00.365496743+01:00 [HTTP TRACKER][INFO] Started on: http://0.0.0.0:7070
2024-05-27T12:52:00.365504943+01:00 [torrust_tracker::bootstrap::jobs][INFO] TLS not enabled
2024-05-27T12:52:00.365596502+01:00 [API][INFO] Starting on http://127.0.0.1:1212
2024-05-27T12:52:00.365599702+01:00 [API][INFO] Started on http://127.0.0.1:1212
2024-05-27T12:52:00.365616862+01:00 [HEALTH CHECK API][INFO] Starting on: http://127.0.0.1:1313
2024-05-27T12:52:00.365711472+01:00 [HEALTH CHECK API][INFO] Started on: http://127.0.0.1:1313Inject the configuration with an environment variable
You can also inject the configuration with:
TORRUST_TRACKER_CONFIG_TOML=`cat share/default/config/tracker.development.sqlite3.toml` cargo runThe response should be like this:
{
	"torrents": 0,
	"seeders": 0,
	"completed": 0,
	"leechers": 0,
	"tcp4_connections_handled": 0,
	"tcp4_announces_handled": 0,
	"tcp4_scrapes_handled": 0,
	"tcp6_connections_handled": 0,
	"tcp6_announces_handled": 0,
	"tcp6_scrapes_handled": 0,
	"udp4_connections_handled": 0,
	"udp4_announces_handled": 0,
	"udp4_scrapes_handled": 0,
	"udp6_connections_handled": 0,
	"udp6_announces_handled": 0,
	"udp6_scrapes_handled": 0
}
For more details about the Torrust Tracker, check the Tracker documentation.
Set Up the Torrust Index
This tutorial has been tested with this Rust version:
- rustc 1.80.0-nightly (9cdfe285c 2024-05-22)
To run the tests you will also need to install a command line tool to handle torrent files called imdl. You can install it with the following command:
cargo install imdlYou will also need to install a tool for database migrations if you are going to make changes to the database schema. We are using SQLx. You can install it with the following command:
cargo install sqlx-cliWe will now clone the torrust-index repository:
  git clone https://github.com/torrust/torrust-index.git \
  && cd torrust-index \
  && cargo build \
  && mkdir -p ./storage/index/lib/database \
  && mkdir -p ./storage/index/lib/tls
You can run the Torrust Index with the following commands:
TORRUST_INDEX_API_CORS_PERMISSIVE=true cargo runAs you can see we are using the environment variable TORRUST_IDX_BACK_CORS_PERMISSIVE to enable a permissive CORS policy. The default port for the Backend is 3001 and for the web server serving the frontend application is 3000. Since they are different ports, we need to tell the backend to allow requests from a different port so that the frontend can make request to the API. To know more about CORS, check the Mozilla CORS documentation.
After running the Index with TORRUST_INDEX_API_CORS_PERMISSIVE=true cargo run you should see the following output:
Loading configuration from default configuration file: `./share/default/config/index.development.sqlite3.toml` ...
2024-05-27T12:56:25.300980998+01:00 [torrust_index::bootstrap::logging][INFO] logging initialized.
2024-05-27T12:56:25.425949219+01:00 [torrust_index::web::api::server][INFO] TLS not enabled
2024-05-27T12:56:25.425976429+01:00 [torrust_index::console::cronjobs::tracker_statistics_importer][INFO] Tracker statistics importer launcher started
2024-05-27T12:56:25.426077258+01:00 [torrust_index::console::cronjobs::tracker_statistics_importer][INFO] Tracker statistics importer cronjob starting ...
2024-05-27T12:56:25.426233288+01:00 [torrust_index::web::api::server][INFO] Starting API server with net config: 0.0.0.0:3001 ...
2024-05-27T12:56:25.426290848+01:00 [torrust_index::console::cronjobs::tracker_statistics_importer][INFO] Tracker statistics importer API server listening on http://127.0.0.1:3002
2024-05-27T12:56:25.426250898+01:00 [torrust_index::console::cronjobs::tracker_statistics_importer][INFO] Running tracker statistics importer every 2000 milliseconds ...
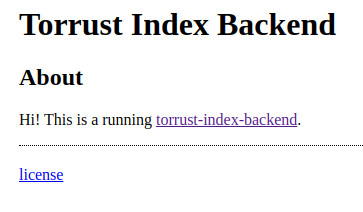
2024-05-27T12:56:25.427603675+01:00 [torrust_index::web::api::server][INFO] API server listening on http://0.0.0.0:3001You should be able to load the API entrypoint on http://0.0.0.0:3001/
For more details about the Torrust Index Backend, check the Index Backend documentation.
Set Up the Torrust Index GUI
At the time of writing, the Index GUI requires:
- Node:
^v20.12.2
The frontend is a Nuxt application.
The last repository we need to clone is the torrust-index-gui repository . Remember to install Node.js and we need to be in the torrust folder to clone the repository.
git clone https://github.com/torrust/torrust-index-gui.git \
  && cd torrust-index-gui \
  && npm install \
  && cp .env.local .env \
  && npm run dev
You should see the following output:
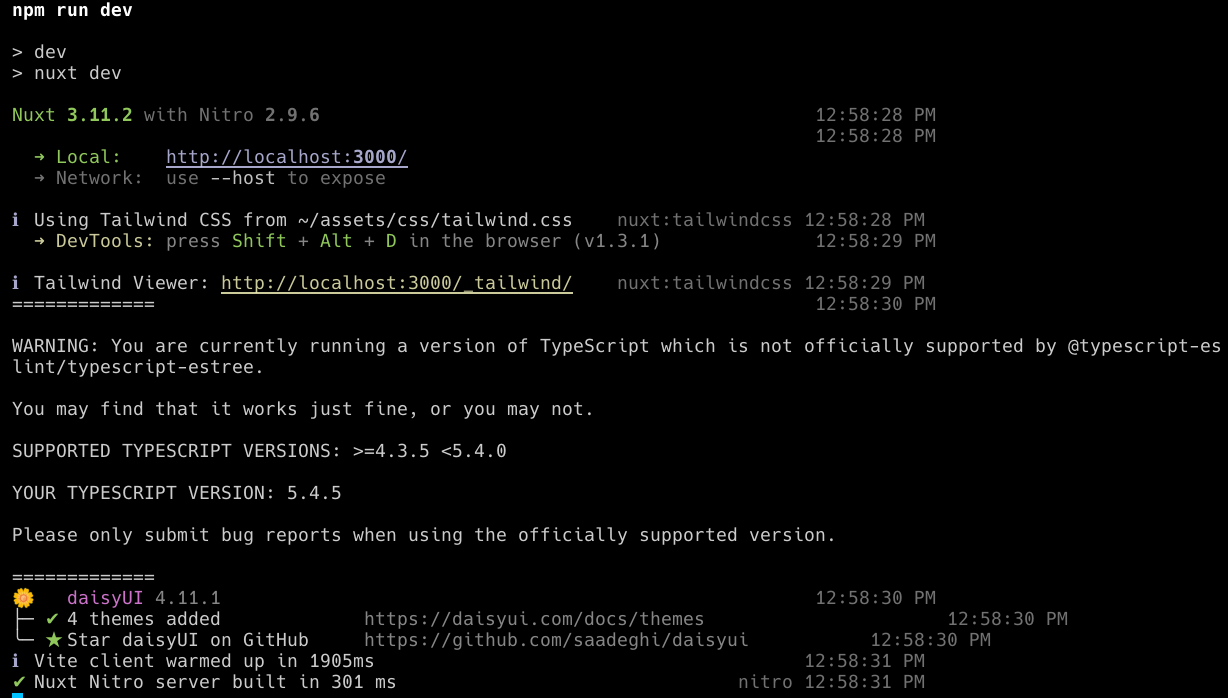
Go to http://localhost:3000/torrents and you should see the torrent list page page:

For more details about the Torrust Index GUI, check the Index GUI documentation.
Application Setup
There are some public pages like the torrent list or torrent details pages. But there are some pages that require authentication like the admin pages or the pages for uploading or editing torrents.
To access those pages you need to create an account. You can do it from the signup page:
admin user.Development tools
We found some tools very useful to develop the Torrust Tracker and Index. We hope you find them useful too.
- DB Browser for SQLite: https://sqlitebrowser.org/
- BitTorrent client: qBittorrent https://www.qbittorrent.org/
- Torrent file editor: imdl https://github.com/casey/intermodal
- DaisyUI component library: https://daisyui.com/components/
Conclusion
As you can see, the Torrust Tracker and Index are very easy to set up. We hope you find this guide useful. You might have problems:
- Setting up some of the projects on Windows. We are working on it.
- Or with some missing system dependencies.
If you have any questions or issues please open an issue on the corresponding repository:
- Torrust Tracker: https://github.com/torrust/torrust-tracker/issues
- Torrust Index: https://github.com/torrust/torrust-index/issues
- Torrust Index GUI: https://github.com/torrust/torrust-index-gui/issues
We very welcome any contributions to the project!